Archive
Felted pouch
I took someone’s advice and decided to make one more thing for Simucon. Besides, I wanted a hat break.
A felted pouch, suitable for dice or whatever.
Here it is before felting when it is roughly the size of a tall hat. Here it is after felting. CD and homemade 8-sided die earring for scale (yes, I’m that geeky). Suitable for dice or cards or whatever your little heart desires.
Costwise, it should really go for $20, but I can probably drop to $18. We’ll see if it sells. If not, I like it, so maybe I’ll use it myself.
Pursearama
And now, finally, the last remaining niece has a felted purse.
So now that’s
Kristina
Alyssa
Brianna
and Alex.
Now my husband’s family can stop having children, thank you very much.
All hail Ceosanna!
 For verily, she showeth her fashion sense at every turn!
You may remember the bag I just knitted. Well, while in Maryland, I also showed everybody a pendant I had made while in St. Louis. Pictured left, it’s a lampworked glass bead between two Swarovski crystals, on a piece of silver wire that I shaped into a spiral at the bottom. I was picking up supplies for the jewelry seminar I was doing as part of the Simucon career fair, and I saw the bead and just had to have it, so I made this during the seminar to help show people ways to work with wire.
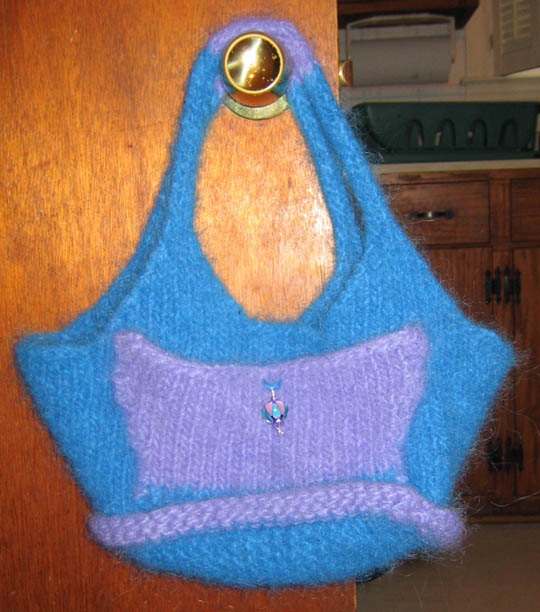 Ceosanna saw it and said, “You know, that perfectly matches that bag you’re working on! I bet it would look great if you put it here, on the pocket, just as a little dangle.”
And you know what? She was right!
Now I’m actually glad that I screwed up the other bag, because with that addition, the bag has officially crossed over into Super Cool territory.
Thanks, Ceosanna!
The Maryland bag
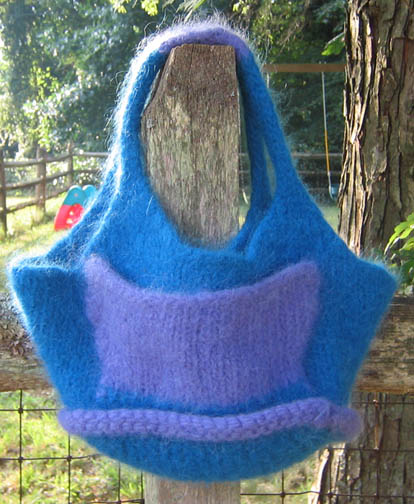 Ceosanna, Tessima, this is how that bag turned out. This pic makes it look a little bigger than it is, I think. I could probably felt it down some more, since it’s still a bit floppy, but I worry that then it will get too small. At this point, my options are to have this be the one I send my niece, or use a different bag pattern and just add a pocket into the design.
Thoughts?
ETA: Here’s another pic with a CD case so you can see size better.
Felt bag – this time, done right!
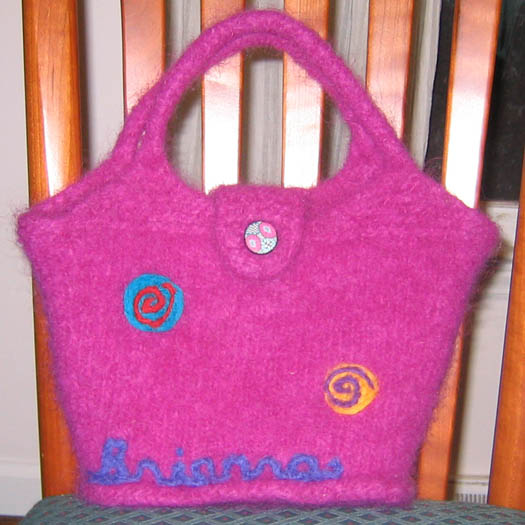
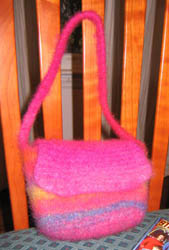
You may remember the pink felted bag I made, to which I had incorrectly affixed the handles. It was for a little girl named Brianna, and she had already seen the unfelted version, so I really did have to make another one correctly.
She said she wanted her name, so I put that on there, and she wanted some flowers. Flowers didn’t seem to look quite right with the name also on there, so needle-felted some spirally doo-dads instead.
This is the Fiber Trends “Flowers On-The-Go” tote. The pattern has been corrected since I made it the first time, but there’s still an error in the closure flap. Frankly, three errors in one pattern doesn’t inspire a lot of confidence in me to buy their other patterns, but I may give it a go. On the other hand, I feel like I’ve learned enough since I made the first one that I could probably wing it and make my own patterns. Here’s hoping Brianna enjoys it. Her younger sister has already put in a request for a blue bag, but this one with a pocket on it! Whee!
Son of a Bitch!
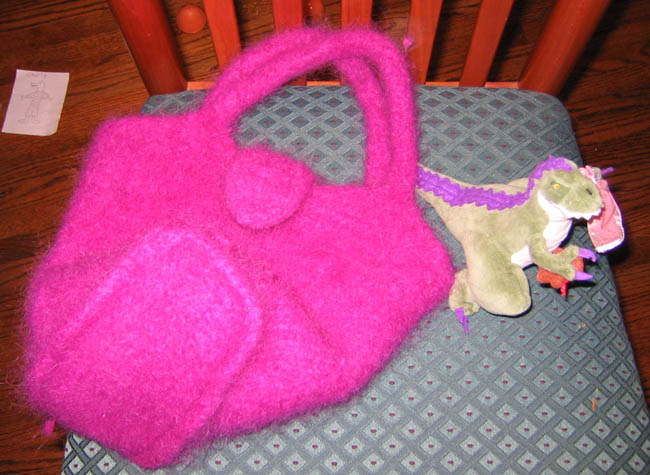
Well, I had a long car trip this weekend, so I managed to finish up the “Flowers On The Go” tote and show the unfelted version(note dinosaur for scale) to the young lady who’ll receive it as a birthday gift.
This was a challenging pattern. Not necessarily challenging because it had me doing new things, but because I felt it was unclear in spots. It had two outright inaccuracies, one involving the number of stitches picked up for the bottom band, and the other involving the three-needle bind-off which attaches the handle to the top triangles. I wrote to the author of the pattern this morning, and she confirmed that yes, they fixed that about a week after it was released, but I guess I got one of the old copies. The author, Bev Galaskas, was very nice, though, and eager to fix anything else that seemed odd.
Nonetheless, it came out of the washing machine and looked really great! My husband thought it looked like a miniature sweater. It took 2 1/4 skeins of Lopi and a lot of time and effort, but it was all worth it. I just needed to block it and let it dry, then needle-felt the young lady’s name on it, and…
I attached the handles sideways. In other words, instead of running parallel to the long side of the bottom of the bag, they were perpendicular. ARRRGGGGHHH!!!
Why does this matter? Think about holding a paper grocery bag closed. You don’t bring the short sides together, as that would be awkward and bulky, and would gape. If you carried it at the end of your arm by your side, it would bump your leg. So you bring the long sides together. The mistake I made brings the wrong sides together. And of course I placed the flap for the button based on where the handles are, so that’s wrong too.
That’s not really something you can fix easily. Frankly, I think I’m better off just re-doing the whole damn thing tonight. I guess I’ve learned a lesson about double-checking EVERYTHING, because it didn’t occur to me that I should watch the order in which I was doing the triangles and i-cord, but now that I look back, obviously it was going to make a difference. Grr. Well, live and learn. My ‘bright side’ disposition leads me to say that at least I can use this bag as a canvas to practice needle-felting on.
Cutest. Bag. Ever.
 I am now totally in love with the patterns from Black Sheep Bags. They were the source for the booga bag pattern, and that went so well that I decided to try one of their teeny tiny bags as a birthday gift for my niece. Here it is pre-felting with a deck of cards for scale. Here it is completed. Yes, I own Star Trek playing cards, I’m that much of a geek.
I think on the next go-round, I’m going to modify the pattern some and also add a button to help keep the flap closed. I’ve learned enough now to change the patterns to my own taste. This is fun!
Booga oogie oogie update!
Ze Booga Bag, she is mostly done!
The knitting was actually pretty easy, once I figured out how to “pick up and knit twisted” the stitches along the bottom. The most boring part was doing the i-cord for the handle. I didn’t realize until I got to that point that I had to knit 8 freakin’ feet of it. Skinny, but time-consuming. Good waiting room work, though.
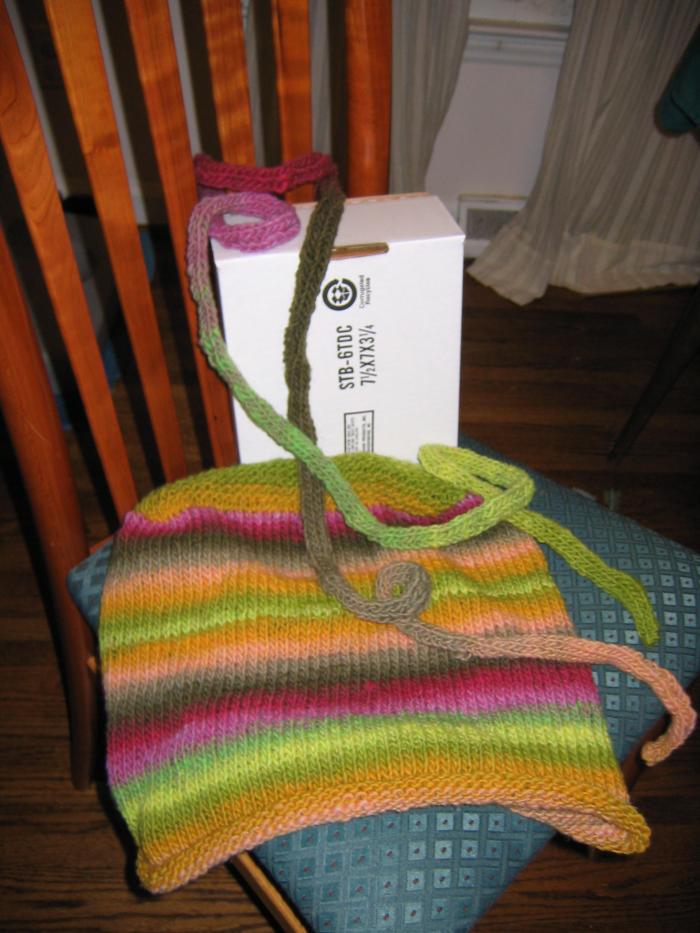
Here’s the bag pre-felting. At this point, it’s all knitted, the ends are woven in, and it’s ready to go into the washing machine. The box on the chair is the box I had planned to put inside it to block it on. In this case, blocking means putting the bag snugly over the box and letting it dry to give it a nice flat base and sides.
Here’s the bag after one go-round in the washing machine with a pair of jeans and two towels. It’s getting a little smaller, a little fuzzier, and losing some stitch definition. I didn’t put it in a zippered pillowcase as recommended, because I wanted the stitch definition to really fade, and I figured the extra friction would help.
Here’s the bag after a second go-round, this time with a little bit of detergent which I thought might speed things up. I think it did, as you can see it’s much smaller now. However, it’s also really shiny because the detergent didn’t rinse out well. So I put it in a zippered pillowcase (I didn’t want it to fuzz up much more) and tossed it back in for another brief go-round.
Here’s the bag still damp from its brief third and final go-round in the washing machine, blocking on its box. It’s good to know that the Kureyon shrinks more lengthwise than it does in width. It’s probably down by a third of its size. After this picture was taken, I picked off the fuzzballs. The bag will stay over the box until it dries, which could take a couple of days.
 This project has been very fun, and I’m ready to tackle more felted items! Just in time for warm weather, it’s a fun knitting thing I can do that holds up well to use in any season! Whee!
UPDATE!
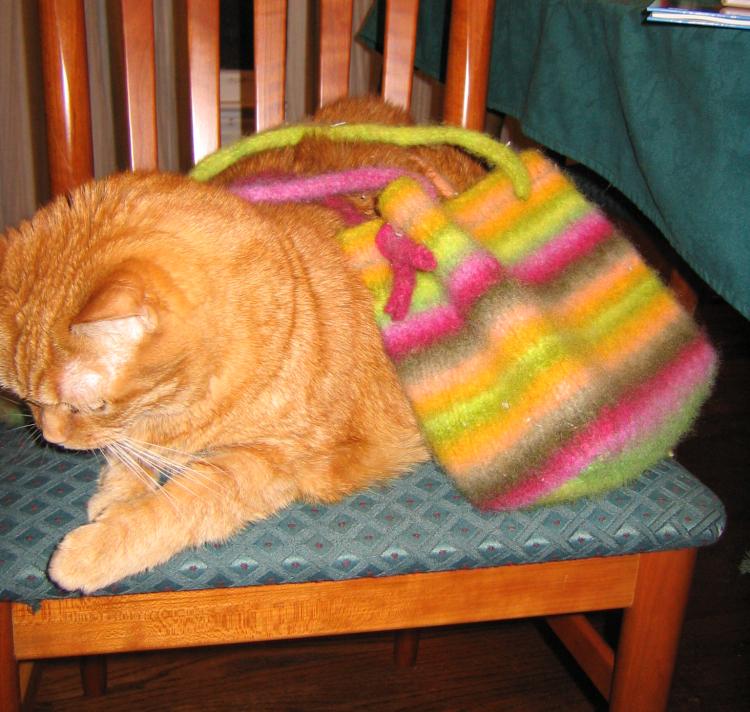
The completed bag. Obese cat for scale.

